.png)
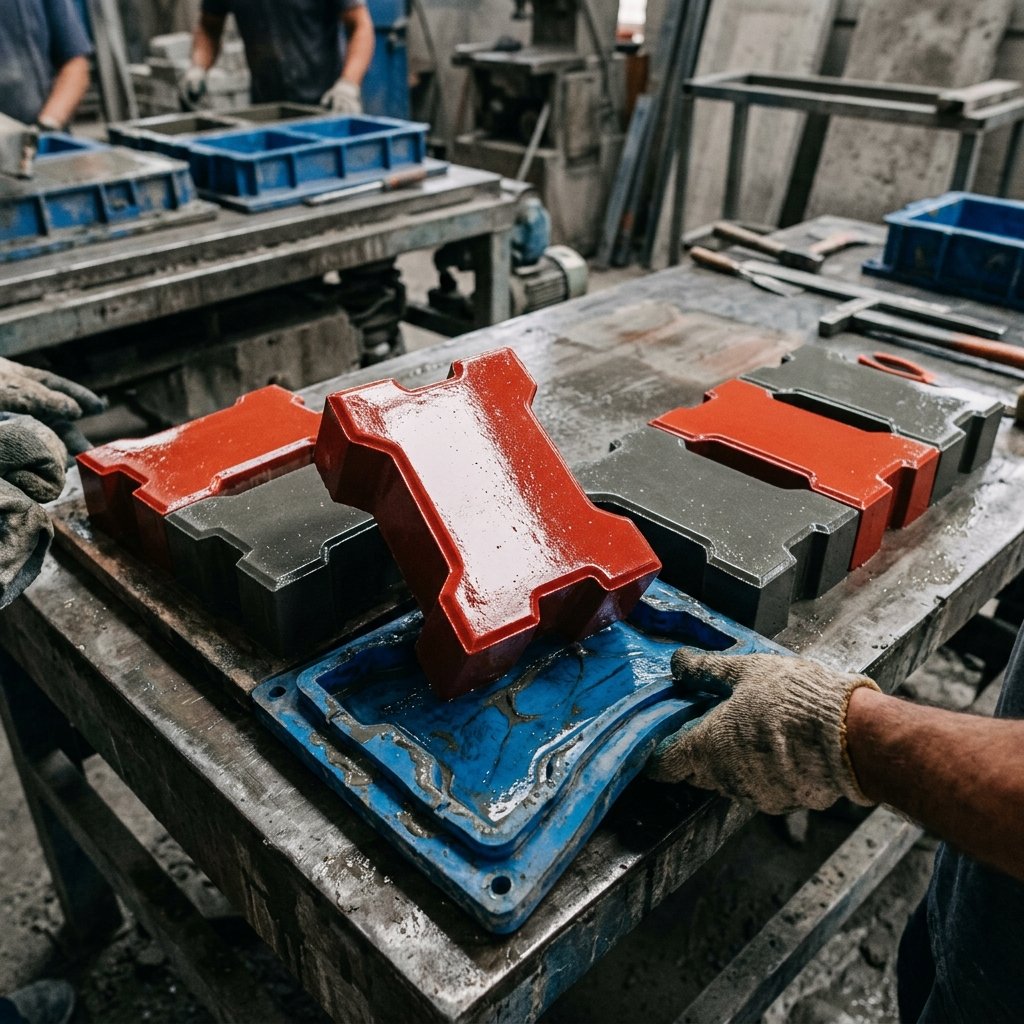
"Are air bubbles ruining your premium pavers? Learn the industry standard techniques for using vibrating tables and correct cement ratios to achieve a flawless finish every time."
Operating a successful rubber mould paver block plant requires strict quality control in concrete paving. Even with high grade machinery, production lines can face common paver block surface defects if the operators do not follow standard mix designs or concrete compaction practices. Here is a technical guide on troubleshooting defects and achieving a mirror like finish.
1. Preventing Surface Air Bubbles (Pinholes)
Air bubbles are the most frequent surface defect. They occur when air gets trapped between the wet concrete mix and the inner face of the rubber mould. To prevent this, your vibrating table for paver blocks must have an optimal frequency and amplitude. Vibrate the first colored top layer for precisely 15 to 20 seconds. Under vibration leaves air trapped, while over vibration causes aggregate segregation, resulting in a weak top crust. Advanced operators utilize high-frequency vibrating tables operating between 3000 to 4000 RPM to forcefully expel entrapped air without displacing the heavier aggregates.
2. Solving Corner Cracking & Demoulding Breaks
If the corners of your paver blocks break off during demoulding, it points to a curing or water ratio issue. Ensure your concrete mix ratio matches the M30 grade: 1 part OPC 53 grade cement, 1.5 parts sand, and 3 parts stone chips (6mm to 10mm). Keep the water to cement ratio strictly between 0.32 and 0.38, using a PCE superplasticizer to maintain workability. Stack filled moulds on a completely level surface and cure in a shaded zone covered with thick plastic sheets to trap exothermic heat. If demoulding breaks continue, inspect your demoulding technique; workers must peel the rubber away evenly rather than striking the mould forcefully.
3. Addressing Honeycombing and Voids
Honeycombing is a severe structural defect characterized by clustered voids on the sides or bottom of the paver. This indicates poor compaction or an incorrect grading of aggregates. If there is a lack of fine sand (crush sand) in the mix, the coarse aggregates (6mm to 10mm chips) will not interlock correctly, leaving large gaps. To troubleshoot, review your aggregate sieve analysis. Ensure your pan mixer runs long enough (at least 3 to 4 minutes) to coat all particles uniformly with cement paste before discharging into the moulds.
4. Tackling Pigment Segregation and Color Fading
A common complaint in outdoor paver installations is color fading or blotchy finishes. Color segregation happens when too much water is added to the top color layer. The water rises to the surface during vibration (bleeding), washing away the iron oxide pigments and leaving behind a pale, chalky cement layer known as efflorescence. To prevent this, maintain a stiff mix for the color layer. Furthermore, use only high-grade UV-resistant synthetic iron oxide pigments. Natural pigments tend to break down under harsh sunlight. Proper stack curing also prevents rapid moisture loss, locking the color into the concrete matrix.
5. Advanced Stack Curing Methods
Stack curing is the process of stacking freshly filled rubber moulds directly on top of each other. This must be done on a perfectly leveled concrete floor to prevent warping. The stacking process essentially creates a closed environment where the exothermic heat of cement hydration is trapped. This trapped heat and moisture act as an in-situ steam curing chamber. Manufacturers in Maharashtra often cover the stacks with thick tarpaulins to prevent the dry, hot air from wicking moisture out of the blocks. A minimum of 24 hours of undisturbed stack curing is required before demoulding.
6. Understanding Rheology and Admixtures
To master the glossy finish, one must understand concrete rheology—the study of the flow and deformation of wet concrete. Paver blocks require a semi-dry mix for high compressive strength but enough plasticity to flow into the intricate details of the rubber mould. This balance is achieved using chemical admixtures. Polycarboxylate ether (PCE) based superplasticizers are highly recommended. They disperse cement particles electrostatically, reducing the water demand by up to 30% while increasing flowability. The result is an ultra-dense block surface that naturally cures into a high-gloss finish when demoulded from a premium rubber mould.
7. Achieving the Premium Glassy Finish
To achieve a mirror like gloss, use high quality synthetic iron oxide pigments and ensure your top layer aggregates are completely free of silt or dirt. The inner surfaces of the rubber moulds must be clean. Wash moulds with water after demoulding. True vulcanized rubber moulds have natural release properties, so avoid greasy, low grade release oils that can trap air and degrade the mould material. Remember, the gloss on the paver is simply a reflection of the mould's interior surface. If the mould is dull, scratched, or coated in old cement, the paver will inherit those defects. Routine maintenance using a mild acid wash (10% hydrochloric acid solution) keeps rubber moulds pristine and ready for the next cycle.
Demoulding Temperature and Timing Factors: Ambient conditions play a major role in early-stage concrete strength. During cooler winter seasons in Maharashtra, concrete hydration slows down significantly. If operators attempt to demould blocks within 12 to 14 hours (which is common in hot summer months), the concrete will not have developed the necessary tensile strength, leading to micro-fractures and chipped corners. Ensure a minimum setting window of 18 to 24 hours during colder months, and keep the curing room enclosed to retain exothermic hydration heat.
Silt Content and Surface Dusting: If your paver blocks show a powdery surface residue (dusting) that easily peels off, it indicates a high silt or clay fraction in your fine aggregates. If sand has more than 3% silt, the clay particles rise to the surface during vibration, forming a weak barrier that prevents the cement paste from bonding with the mould face. Always source washed sand or clean M-Sand, and perform a simple 24-hour cylinder decantation test to monitor silt accumulation.
Admixture Dosing Precision: While PCE superplasticizers are essential for a glassy finish, their dosage must be precise. Over-dosage retarders cement setting times. The concrete remains soft and sticky inside the mould, causing it to adhere to the rubber walls during demoulding. This creates unsightly surface peel-offs. Invest in electronic dispensing pumps on your pan or planetary mixers to control chemical dosing down to the milliliter.